Jul 17, 2011

Collage 1


I got so wrapped up in April Saler's collage class at LeMoyne Sunday that I forgot to take notes or even a photo. So, quick, before I forget, here's my "collage" & a couple of Aprilisms. She is clear & opinionated. You don't misunderstand this artist!

1. Don't be stingy. Buy good paper (Arches cold press watercolor) & acrylic medium; brushes don't have to be expensive, just not too hard & not too soft. . .
2. April hates Mod Podge. Expensive, not flexible, just plain unprofessional. Ditto Liquitex medium. Watered-down. Don't use it. Use acrylic medium from a real art store, like Utrecht brand. Dick Blick & Jerry's Artarama are good online art sources. Oh -- medium is paint minus pigment. (When you're a beginner it's all a mystery.)
3. How to adhere stuff to paper: First, dip your brush into water. Then get rid of most of the water--no dripping, just a wet brush. Then dip it --go ahead, dip it deep, don't dab it -- into the medium. Don't be stingy.
4. "Paint" the medium on the area of paper you will be using. Use enough, not too much.
5. Lay down the picture or other collage goodie.
6. "Paint" medium over the top, starting in the center & going around in a circle like a clock.
7. Then "paint" lengthwise.

We practiced sticking papers to the base. I used too much water, so the paper warped & the picture wrinkled. I'll get the feel soon enough.

Jul 16, 2011

Garnet & Gold Quilt

"Just another part of the adventure"

Patrick's FSU graduation quilt, 55" square

Jul 13, 2011

River quilt, step 7

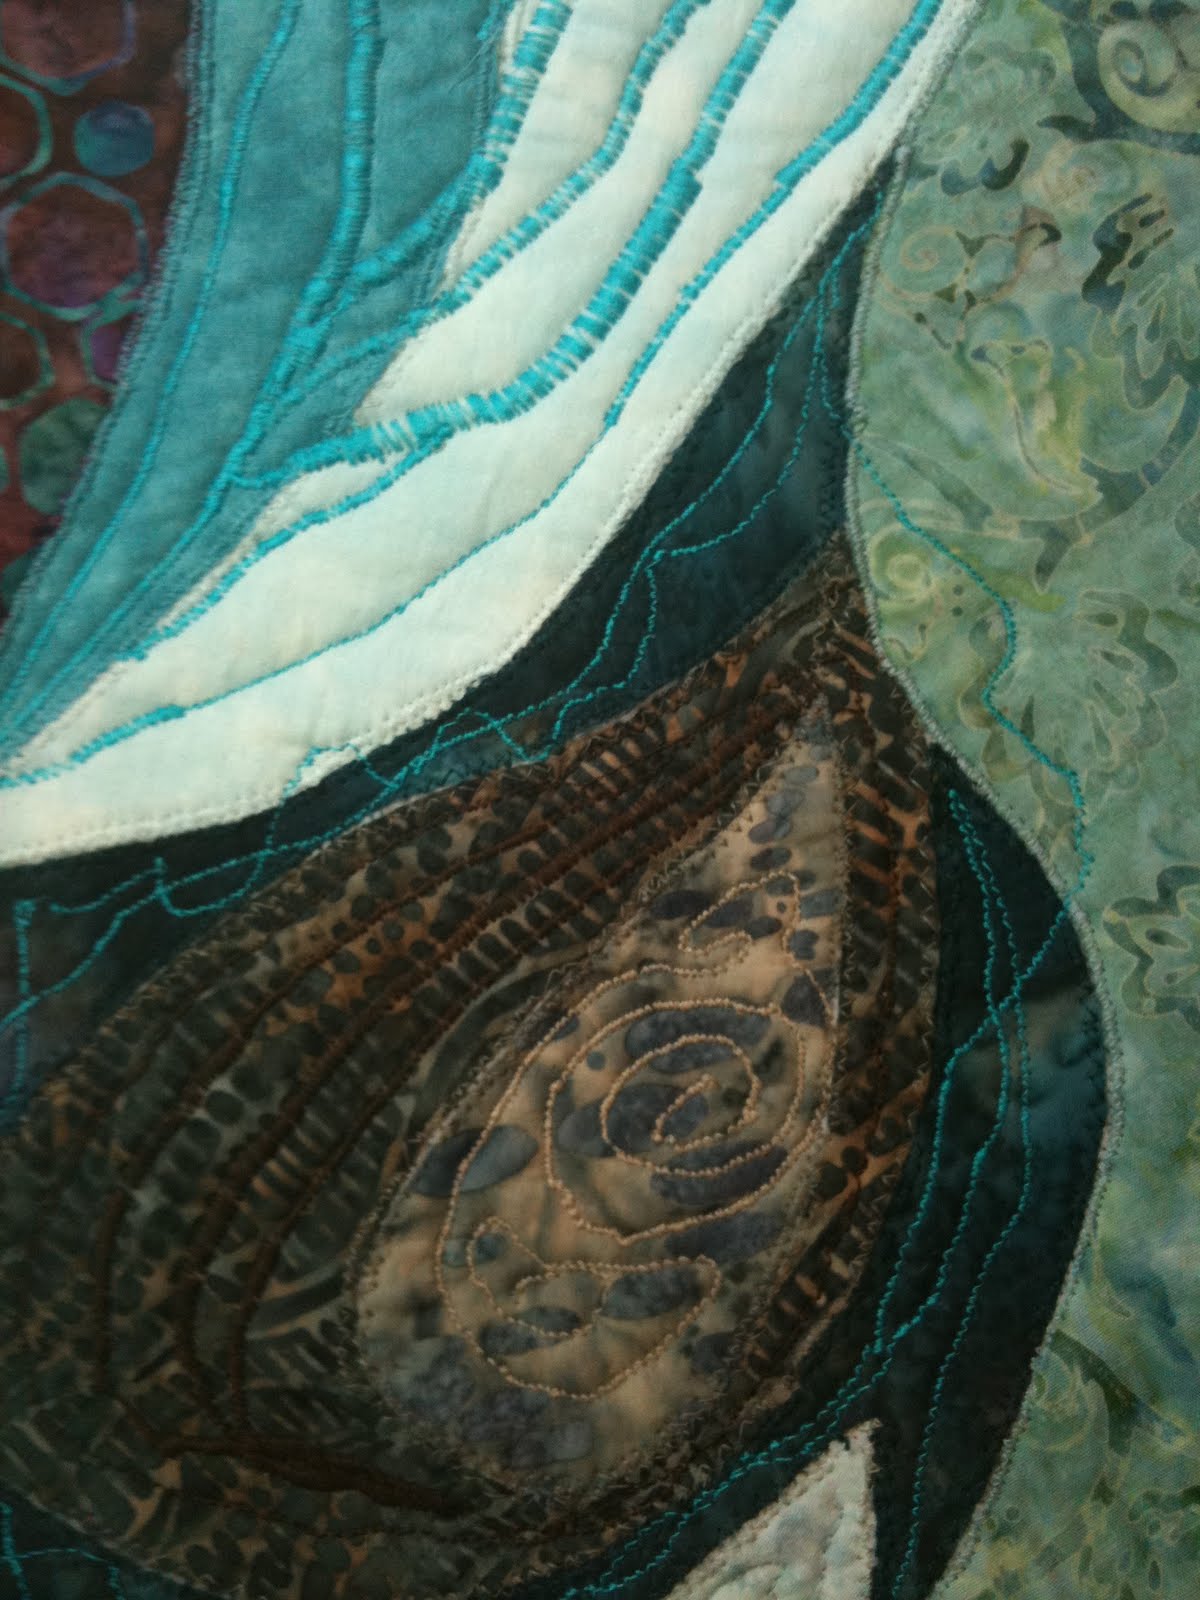
Cautious at first, I didn't want to disturb the edges of the pieces because I love the design. But water does ripple & run, so I let the thread go in waves of color around the edges. At QSDS I learned "mistakes" don't last; I can fix them. Of course, I did look at pictures, sketch out lines & practice on scraps first! Bobby McFerrin's free improvisation made inspiring sounds around me.

Jul 8, 2011

River quilt, step 6

I committed one of my own pet peeves: not telling the size of the quilt. When Mona saw this in my studio, she was shocked -- from blog photos she'd deduced it was 10" or so. I hate to see art online (& in print too) for which you have to guess the size. Lesson learned! This is 38" square.

Another blog problem: color, intensity, all that ... Photos (mine, anyway) don't convey reality. Sue & George thought I'd changed color plans from the model in step 1. Well ... yes & no. The blues ARE less rosy, but the piece is pretty much like the original idea. My photo doesn't tell the story.

Now I'm edging the pieces in same-color thread. I started with monofilament (recommended by Barbara Olson in Journey of an Art Quilter), but that gave the fabric a punctured look -- all needle holes & no connectors. It's slow work because I'm not adept. Today's gloomy -- too wet to run but perfect for stitching.


Jul 5, 2011

Sweet biscuits for peach cobbler


We celebrated the Fourth with peaches--they are so delicious. I was going to make Mom's sublime peach pie, but cobbler is easier & also scrumptious.

Fruit cobbler
Slice peaches--enough to generously fill the pan. (Great also with blueberries + raspberries) Mix with finely grated lemon rind & sugar. Top with:

Sweet biscuits

Mix:
1 C. flour
1/8 C. sugar
1 1/2 t. baking powder
1/4 t. salt
Cut in 1/4 C. cold butter.
Add 3/8 C. heavy cream

Flatten pieces of dough on a floured surface. Place them over the top of the fruit. Sprinkle with sugar, the fancy kind with large crystals. In a pinch you can use regular sugar, but you won't get that sweet crunch. Bake at 375° for 45 minutes.

For shortcake, bake the biscuits 15-20 minutes. Serve with fresh fruit, sliced & sweetened, & shipped cream.

For regular dinner biscuits, eliminate the sugar & use milk instead of cream.

Jun 29, 2011

Tomato + Blue

As I drove away Monday evening, I waved to Kit & Ana, who were heading up our walk. Ana was carrying a big blue bowl. They gave Clark these tomatoes from their garden. Yesterday I had tomato salad for lunch; Clark made a tomato sandwich for dinner.

Jun 27, 2011

River quilt, step 5

When I woke up I realized I had the wrong blues -- too rosy. The river is supposed to slice through, but it should look like it belongs in the same quilt. My river was a little off, so I moved toward green-blue. Now it all flows.
It took several days of trial & error to get this far. I wonder & cut & then reject several fabrics for each little part. I was fussing over how long it takes me. Picasso would have had this done already! "What's the hurry?" Clark asked. He's right--especially since I love the process.

Blog Archive

About Me

My photo
I love to make things.