
I just made two T-shirt quilts for graduates, and I love them (quilts AND grads). The quilts are simple and cuddly. And they are a collage of the graduate's life, a picture of the person. You've heard the saying "every stitch a prayer." Maybe not EVERY stitch, but plenty of prayers, good wishes and gratitude seasoned the sewing. You could make one too, and not just for grads. Sports, family reunions, even blood donations are all themes for T-shirt collections. Here's how to do it:
1. Decide to take a relaxed approach. No perfect centering, no pinpoint-matched corners necessary!
2. Ask the grad for 16 favorite T-shirts.
3. Cut the sleeves off. If you use sharp scissors this is easy.
4. Separate front from back at the side seams and shoulders. Just lay the shirt down and cut the seams away. You don't have to cut off the neck binding.
5. Put the back of the shirt aside. Unless it has the image you're after, you don't need it.
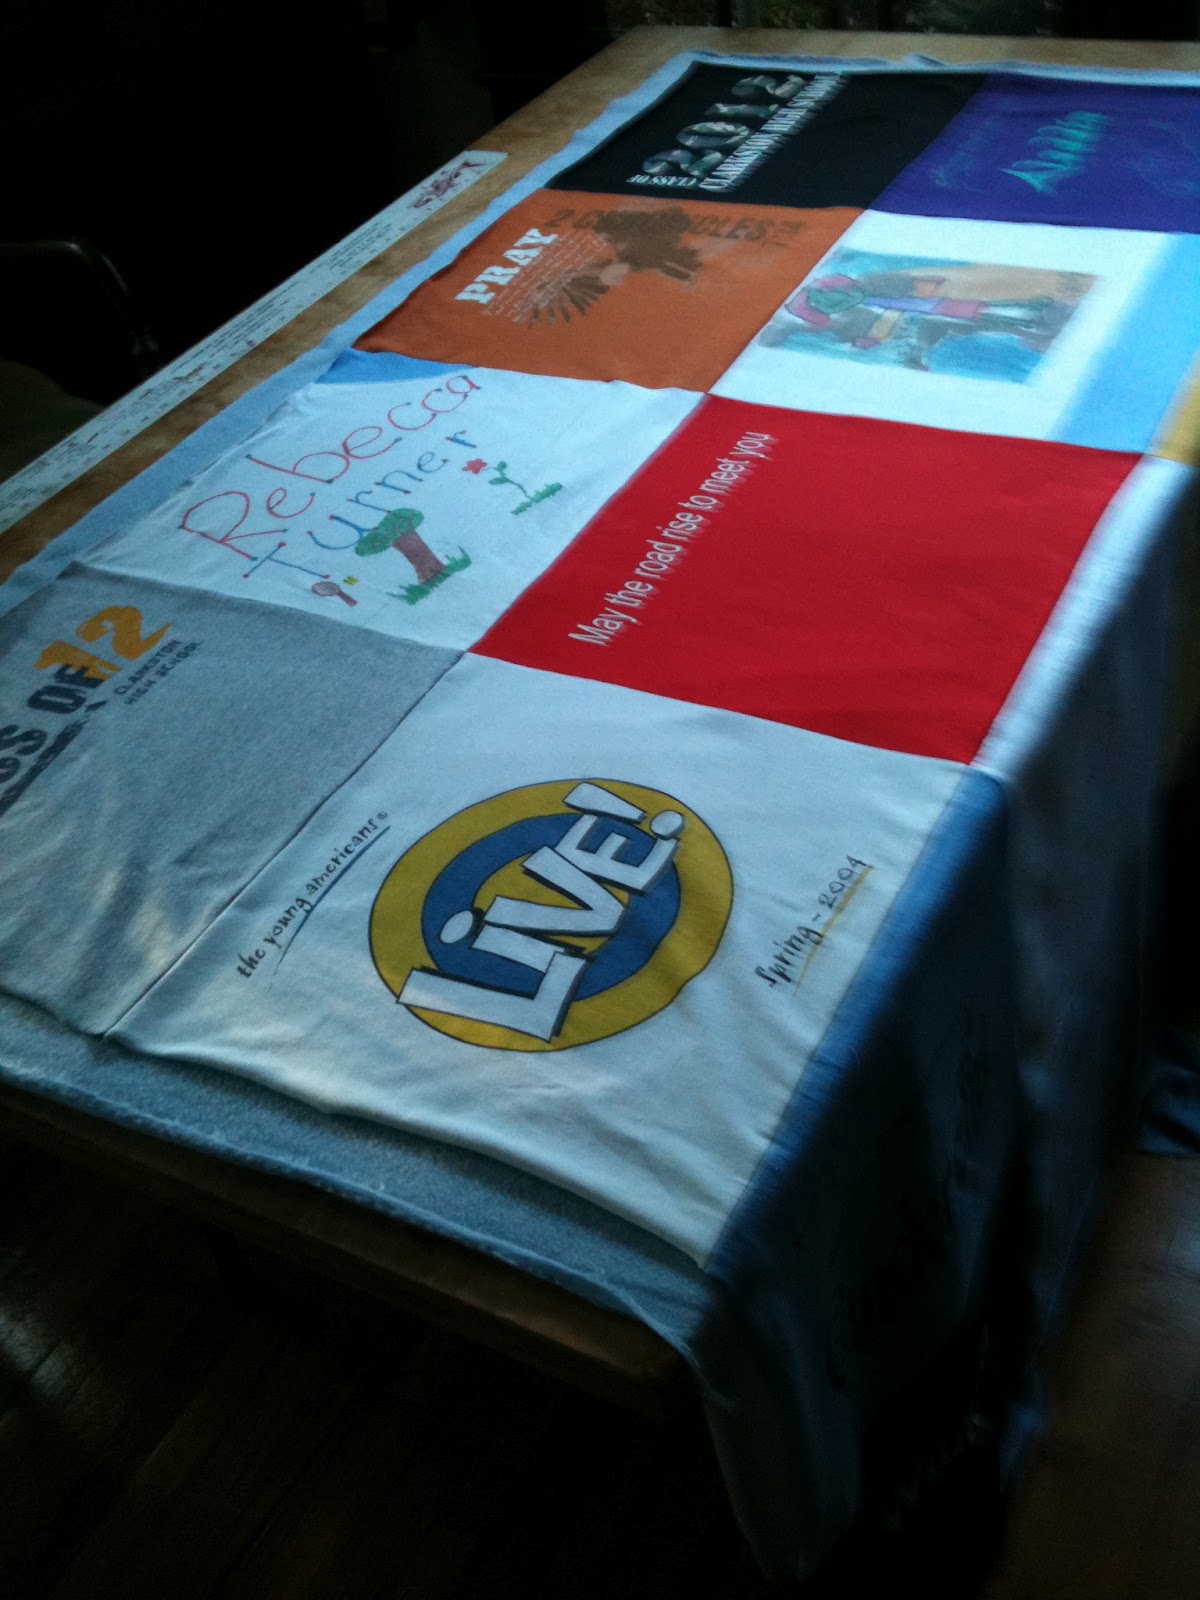
6. Cut a 14 1/2" square from each shirt. I marked my cutting board with red tape, laid the T-shirt down kind of centered, with the neck binding above the cutting line. Cut across top and bottom, then at each side. Here's what the cutting board looks like.

7. Arrange the squares into four rows four squares each. I leave this up on my design wall for a day or so and rearrange until it's perfect. One of my grads is an art student, so I invited her over to show me how she wanted hers to look.


9. Sew the rows together to make one quilt top. Use 1/4" seams.
10. Iron it. Use a pressing cloth if you have any sticky-ish designs.
11. Buy 2 yards of fleece. One grad asked for light blue; another for leopard print. School colors are also good. Or you can simply use sweatshirt gray for a classic effect.
12. Lay the fleece on a big table or the floor. Make sure the fluffier side is up and the flatter side faces the floor or table.
13. Using Sulky temporary spray adhesive, attach the T-shirt top to the fleece. You should have 1 1/2" at each side and plenty of fabric at top and bottom.
14. Use big quilting pins to reinforce the center area. I put pins where the squares met.

15. Sew the top to the fleece along the seams. I used a neutral color of thread that would blend with most of the squares. For the bobbin I matched the color of the fleece. I used a quilter's walking foot, but you could make do with a plain foot. I used to use a straight stitch for this step, but have found that a narrow zigzag is better. It avoids threads snapping due to the natural give of knits.
16. Cut the fleece 1 1/2" above the T-shirts at the top and the bottom of your quilt.
17. Make a self-binding: Fold the fleece over the edge of the quilt, turn the raw edge under, and pin. It makes a binding of about 3/4". I was kind of flexible here. I cut the selvage away when it was too stiff to turn under. The fleece is just the right size for this, and, depending on the fabric, you may have to fudge a little as you turn the binding. Just make it look nice. Pin it down.

18. Sew the binding down, reinforcing the corners with an X or some double-seaming. Once I did this by hand, but it is actually stronger and prettier by machine.
19. Make a little label and sew it on the back. I do this at the bottom right corner (as seen from the front), and sew it on by machine, matching the bobbin thread to the front T-shirt.
That's it.

No comments:
Post a Comment